This year for Christmas I built a computer for my nieces, five and three to share and use at home. It was a fairly simple build and I was able to include a few educational games and tools for them to learn computing. I decided to go with the Raspberry Pi in part because of the price and I want them to learn on a Linux machine. Throughout their lives in school and working they will be using and learning Windows so this way they learn a little more about computers early on. I’ve broken this down into the hardware for the computer and then the software I installed. The overall cost for this build is around $80 starting from scratch but I already had some of the supplies so I spent around $60 to create a simple, expandable computer that my nieces will be able to use for years to come.
Hardware 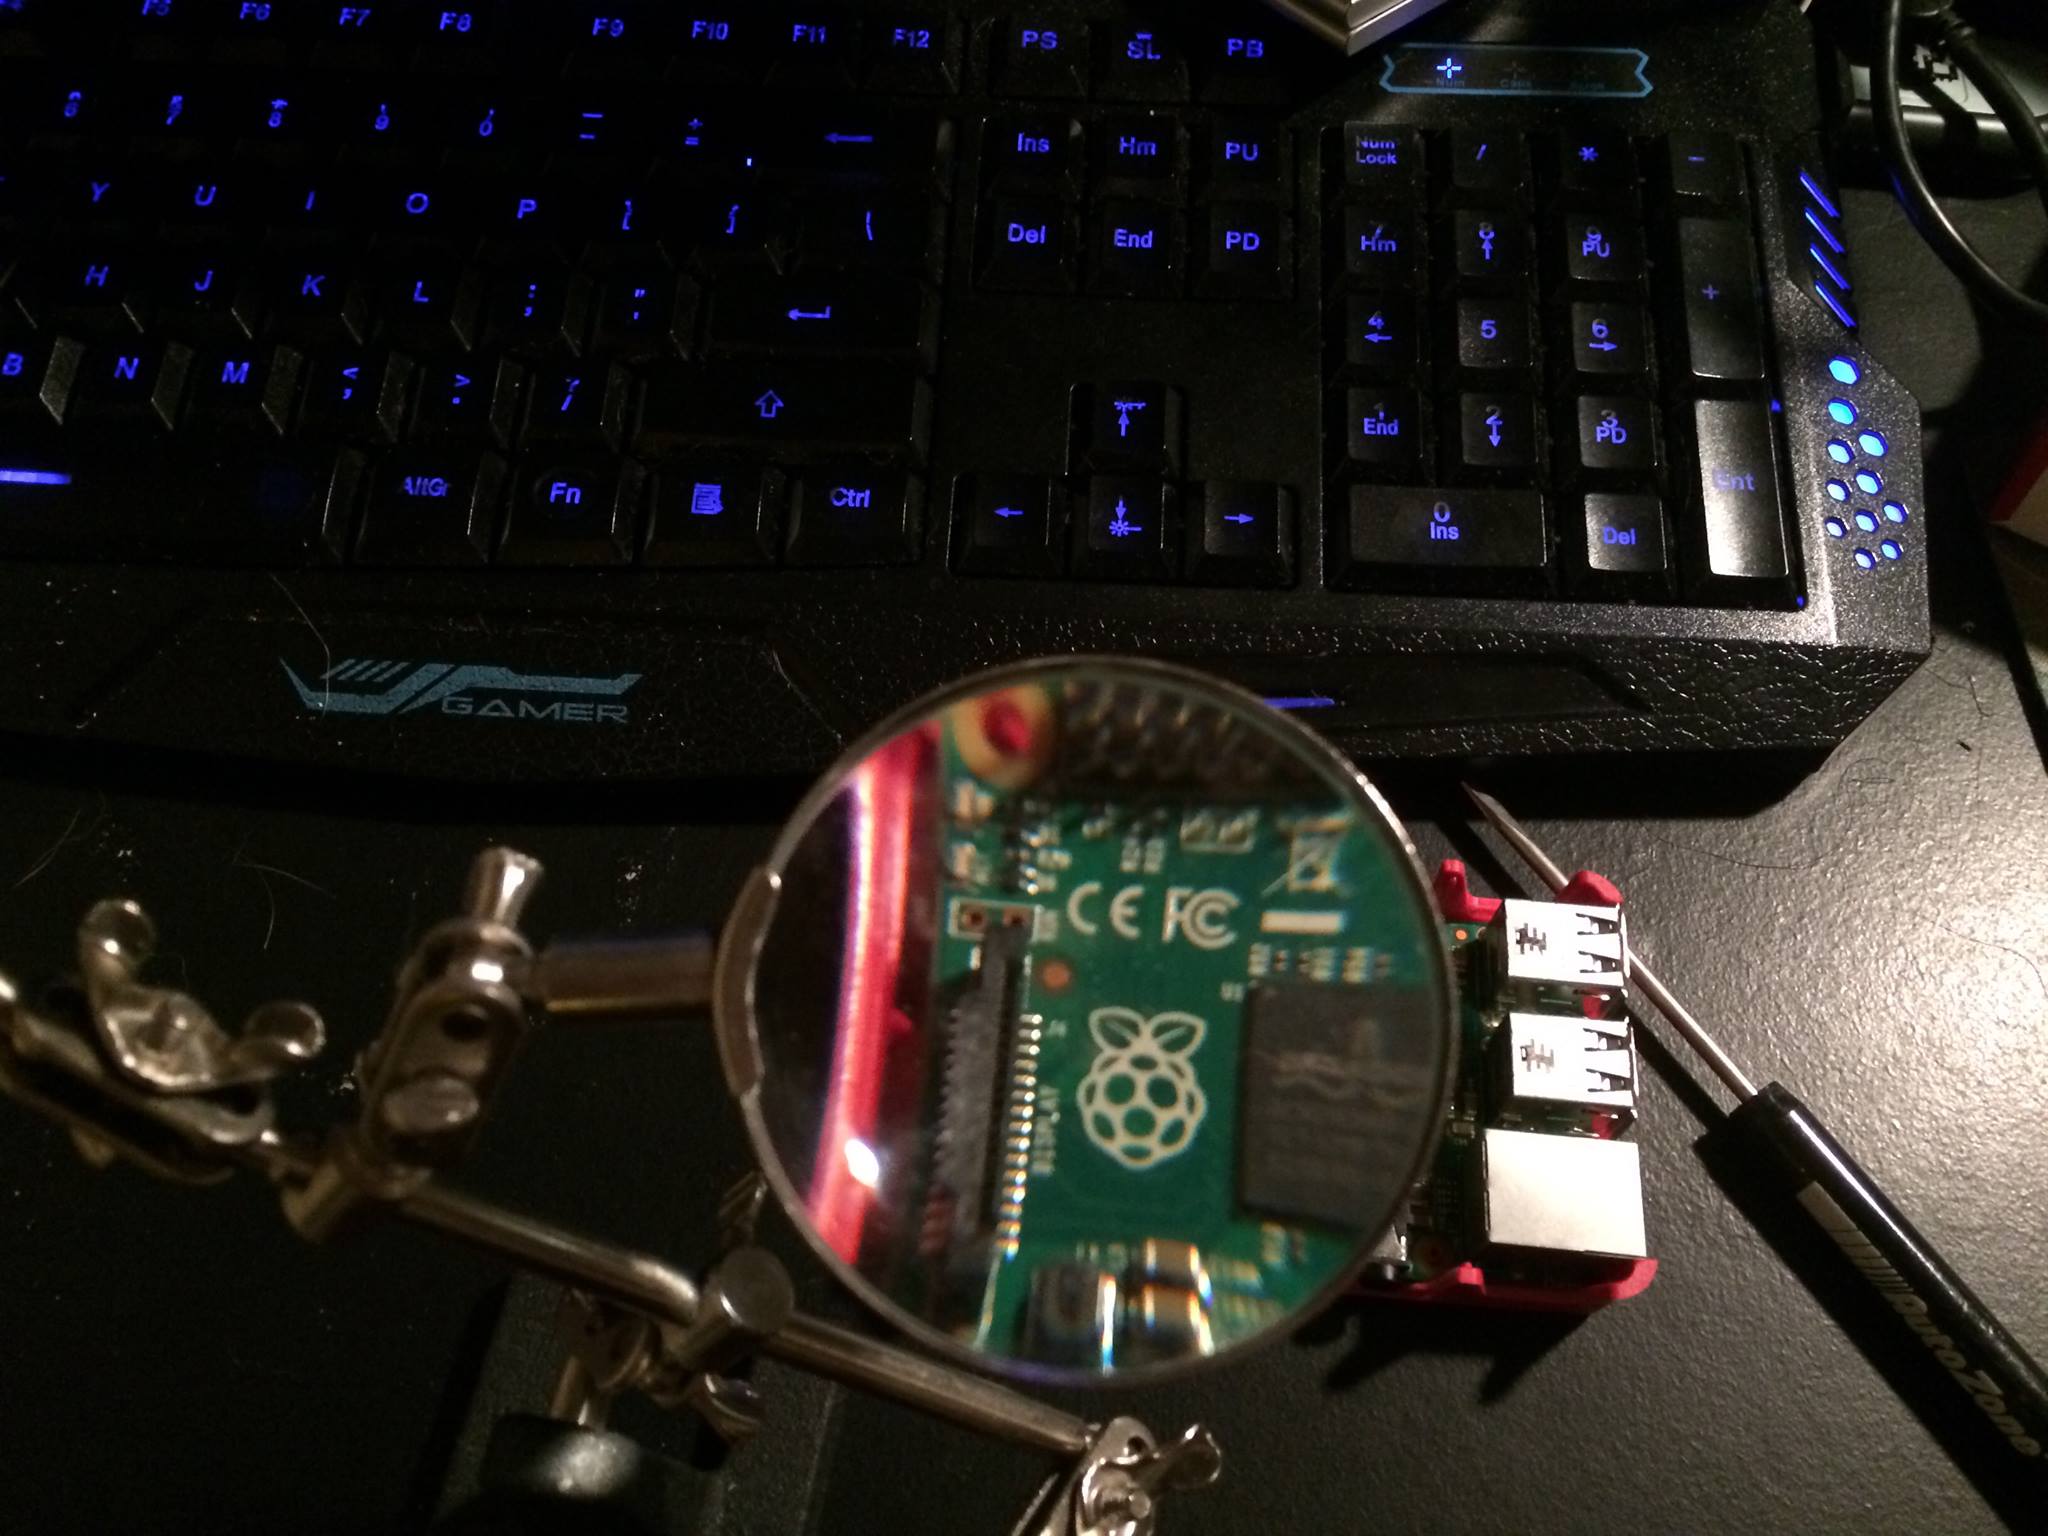
- Raspberry Pi 2 Model B
- Hapurs RPi with On/Off Switch
- iPazzPort Keyboard Touchpad Combo
- HDMI Cable
- 8GB Micro SD Card
- Raspberry Pi Case
All of the equipment can be purchased from Amazon.com.
A little trick I’ve learned working with Raspberry Pi cases is that the Micro SD card slot on the case doesn’t always line up with the slot on the board so it is best to put the card in before putting the board in the case. Because of this I installed the OS on the card before putting the pieces together.
Being a board the Raspberry Pi does not have an on/off switch built into it and so the only way to remove power when shutting down the system is to unplug the power supply. Since this is for my nieces I didn’t want to run the risk of overzealous usage of the plug so I purchased a power cable with an on/off switch so that is one less worry for them.
The case comes with removable panels on the top and sides for easy access to attach devices to the Raspberry Pi. However since this is a simple computer for children I left them in place and used the cut out slots for the USB, Ethernet, Power, HDMI, and Speakers.
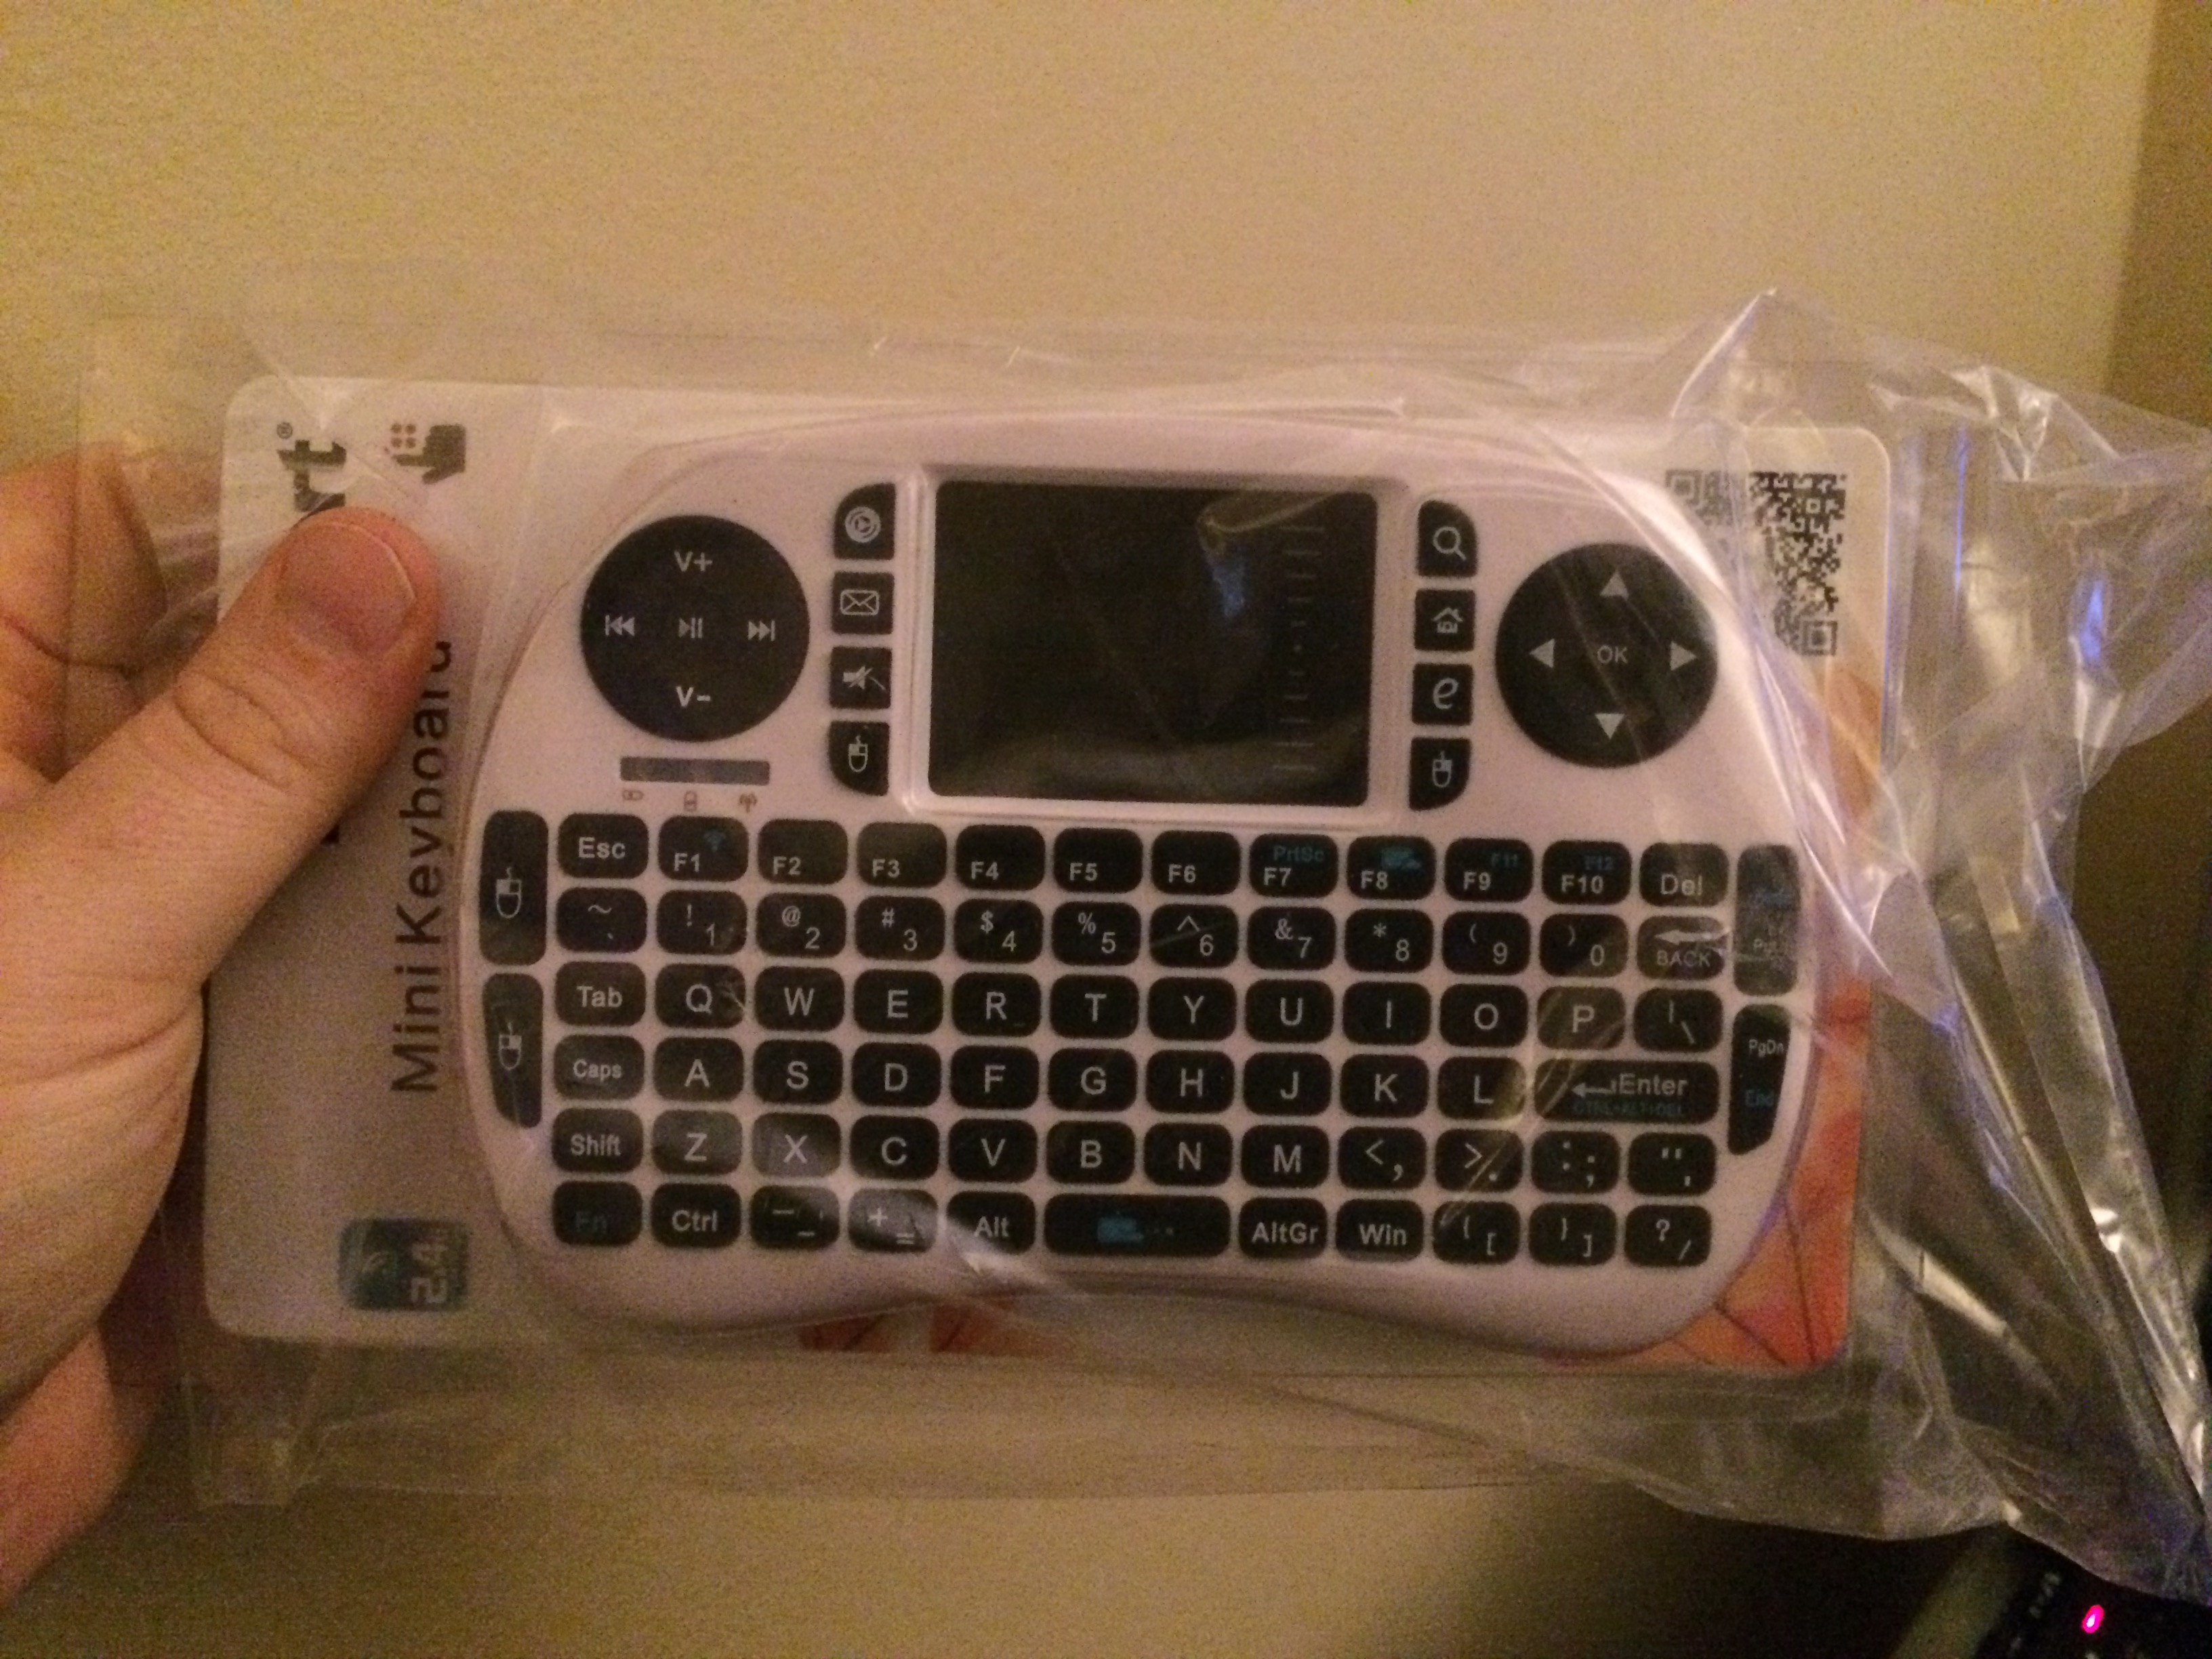 For the keyboard and mouse I chose the iPazzPort Keyboard Touchpad Combo. Though it is designed for use with smart TVs and home entertainment the small size fit perfectly in my nieces’ hands. They were able to use it as intended for keyboard and mouse but also as a gamepad for some of the games. It comes with a rechargeable battery and bluetooth dongle that plugs into one of the USB ports. It can also be plugged directly into the USB port for charging or as a wired keyboard. My brother-in-law liked it so much that he is getting one for their home and his office. Being only $15 it is a useful tool and perfect for the girls.
Software
Operating System
After the trouble I had with not being able to redistribute the partitions in Noobs I chose to go with the slightly more advanced install of Raspbian. Jessie is the latest stable version at the time of this build. The process was fairly simple. I downloaded the zip file from the website, unzipped it, then used Win32 Disk Imager to put the image on the Micro SD card.
I could have also done this in Linux with the command line, which is what I used to create a backup image after setting everything up and installing all the other software. To start I would use the unzip the image file.
1 | $ sudo unzip ~/path/to/file.zip |
Before inserting the Micro SD card use the ‘df -h’ command to find all the devices installed on the machine.
1 | $ df -h |
It will display something like this
| Mount Dir | Filesystem | blocks | used | free | %used |
|---|---|---|---|---|---|
| / | /dev/root | 600000 | 562128 | 37872 | 93% |
| /u | /dev/u | 1290218 | 1019404 | 270814 | 79% |
| /public | /dev/public | 626218 | 434830 | 191388 | 69% |
Now insert the Micro SD card and run the ‘df -h’ command again. The new directories something like ‘/dev/sda’ will be the card. Format the card with the ‘umount’ command.
1 | $ sudo umount /dev/sda (insert the partition of your card here) |
Finally use the ‘dd’ command to place the image on the card. If the block size of 4M is too much then you can change it to 1M, it will just take longer. This part will take the longest.
1 | $ sudo dd bs=4M if=~/path/to/unzipped/file.img of=/dev/sda (your card) |
After installing all of the software via the ‘apt-get’ command and creating the user accounts I created a back-up image by reversing the ‘dd’ command on my laptop.
1 | $ sudo dd bs=4M if=/dev/sda (your card) of=~/path/to/backup.img |
User Accounts
Each of my nieces received her own username and password for a restricted user account. Being the coolest uncle ever, I set the desktop background to their favorite colors. On each desktop I included the ChildsPlay Suite, TuxPaint, Python Games, and Scratch. They also have access from the desktop to their individual Documents folder and LibraOffice Writer and LibraOffice Draw.
In addition to the pi super user I created a sudoer account for my sister with her own login and password. I told her that there is nothing they can do that will break the computer from a software stand point. While I’m sure some of us geeks could find ways around that it’s good for her and them to feel comfortable trying things and learning without fear of breaking anything. Also since I created the backup image if anything does happen an overnight shipment of a new Micro SD card will reset everything.
Additional Software
Raspbian comes with several great apps for learning including a Python IDE, Mathmatica, and Wolfram. My personal favorite though is Scratch. My 5 year old niece wants to be able to program like her uncle so I’m starting her with Scratch.
It also comes with Minecraft Pi, but they are still getting the hang of Minecraft on my Xbox so I didn’t emphasize that and will bring it out later as they better understand the game mechanics.
In addition to the Raspbian OS I also installed ChildsPlay an educational game suite for Linux. I chose this suite because of the high ratings and that it is designed for ages 1-9 so they will have years of enjoyment before aging out of the games. For this I used the command line in the Raspbian GUI.
1 | $ sudo apt-get update |
Next I installed Tux Paint based on Will’s daughter’s recommendation. It is her favorite app on her Linux machine. Again I used the ‘apt-get’ command though since I did these in succession I did not update again.
1 | $ sudo apt-get install tuxpaint |
Finally I created a couple of web apps for the desktop. The first is a tutorial for kids on programming in Scratch. It’s great and walks them through the process with videos and activities. Second I put a link to the their individual websites on each desktop. This is where I have the games I create for them to play.
Extras
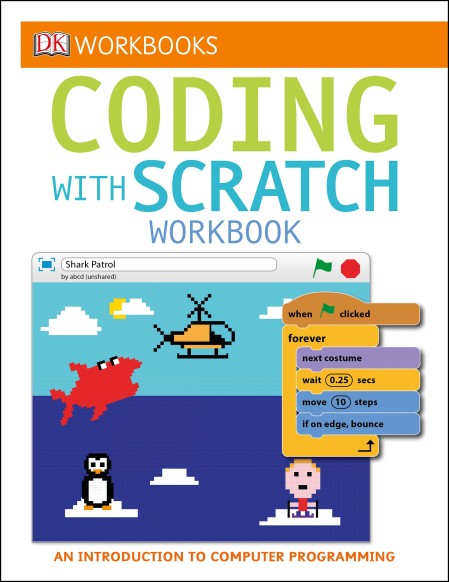 In addition to the computer I also gave the girls a couple of books about computers. The first is a Scratch Workbook. It’s a wonderful resource for learning and playing with Scratch. I bought one for them and one for myself so that we can go through it together and I’ll better be able to answer questions. My sister said that even though she’s not a techy she could understand that and help them too.
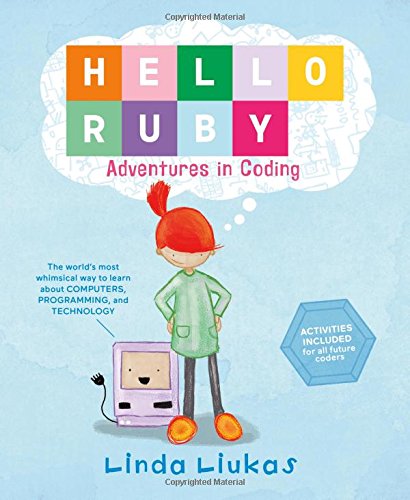 The second is a book I heard about via the Code Newbie Podcast. It’s called Hello Ruby: Adventures in Coding and follows the adventures of a young girl named Ruby. The book is not an instruction manual or workbook but more akin to an allegorical novella for children to learn the concepts of coding. Various systems and languages are anthropomorphized to create a unique and interesting story that I’m sure my nieces will love.
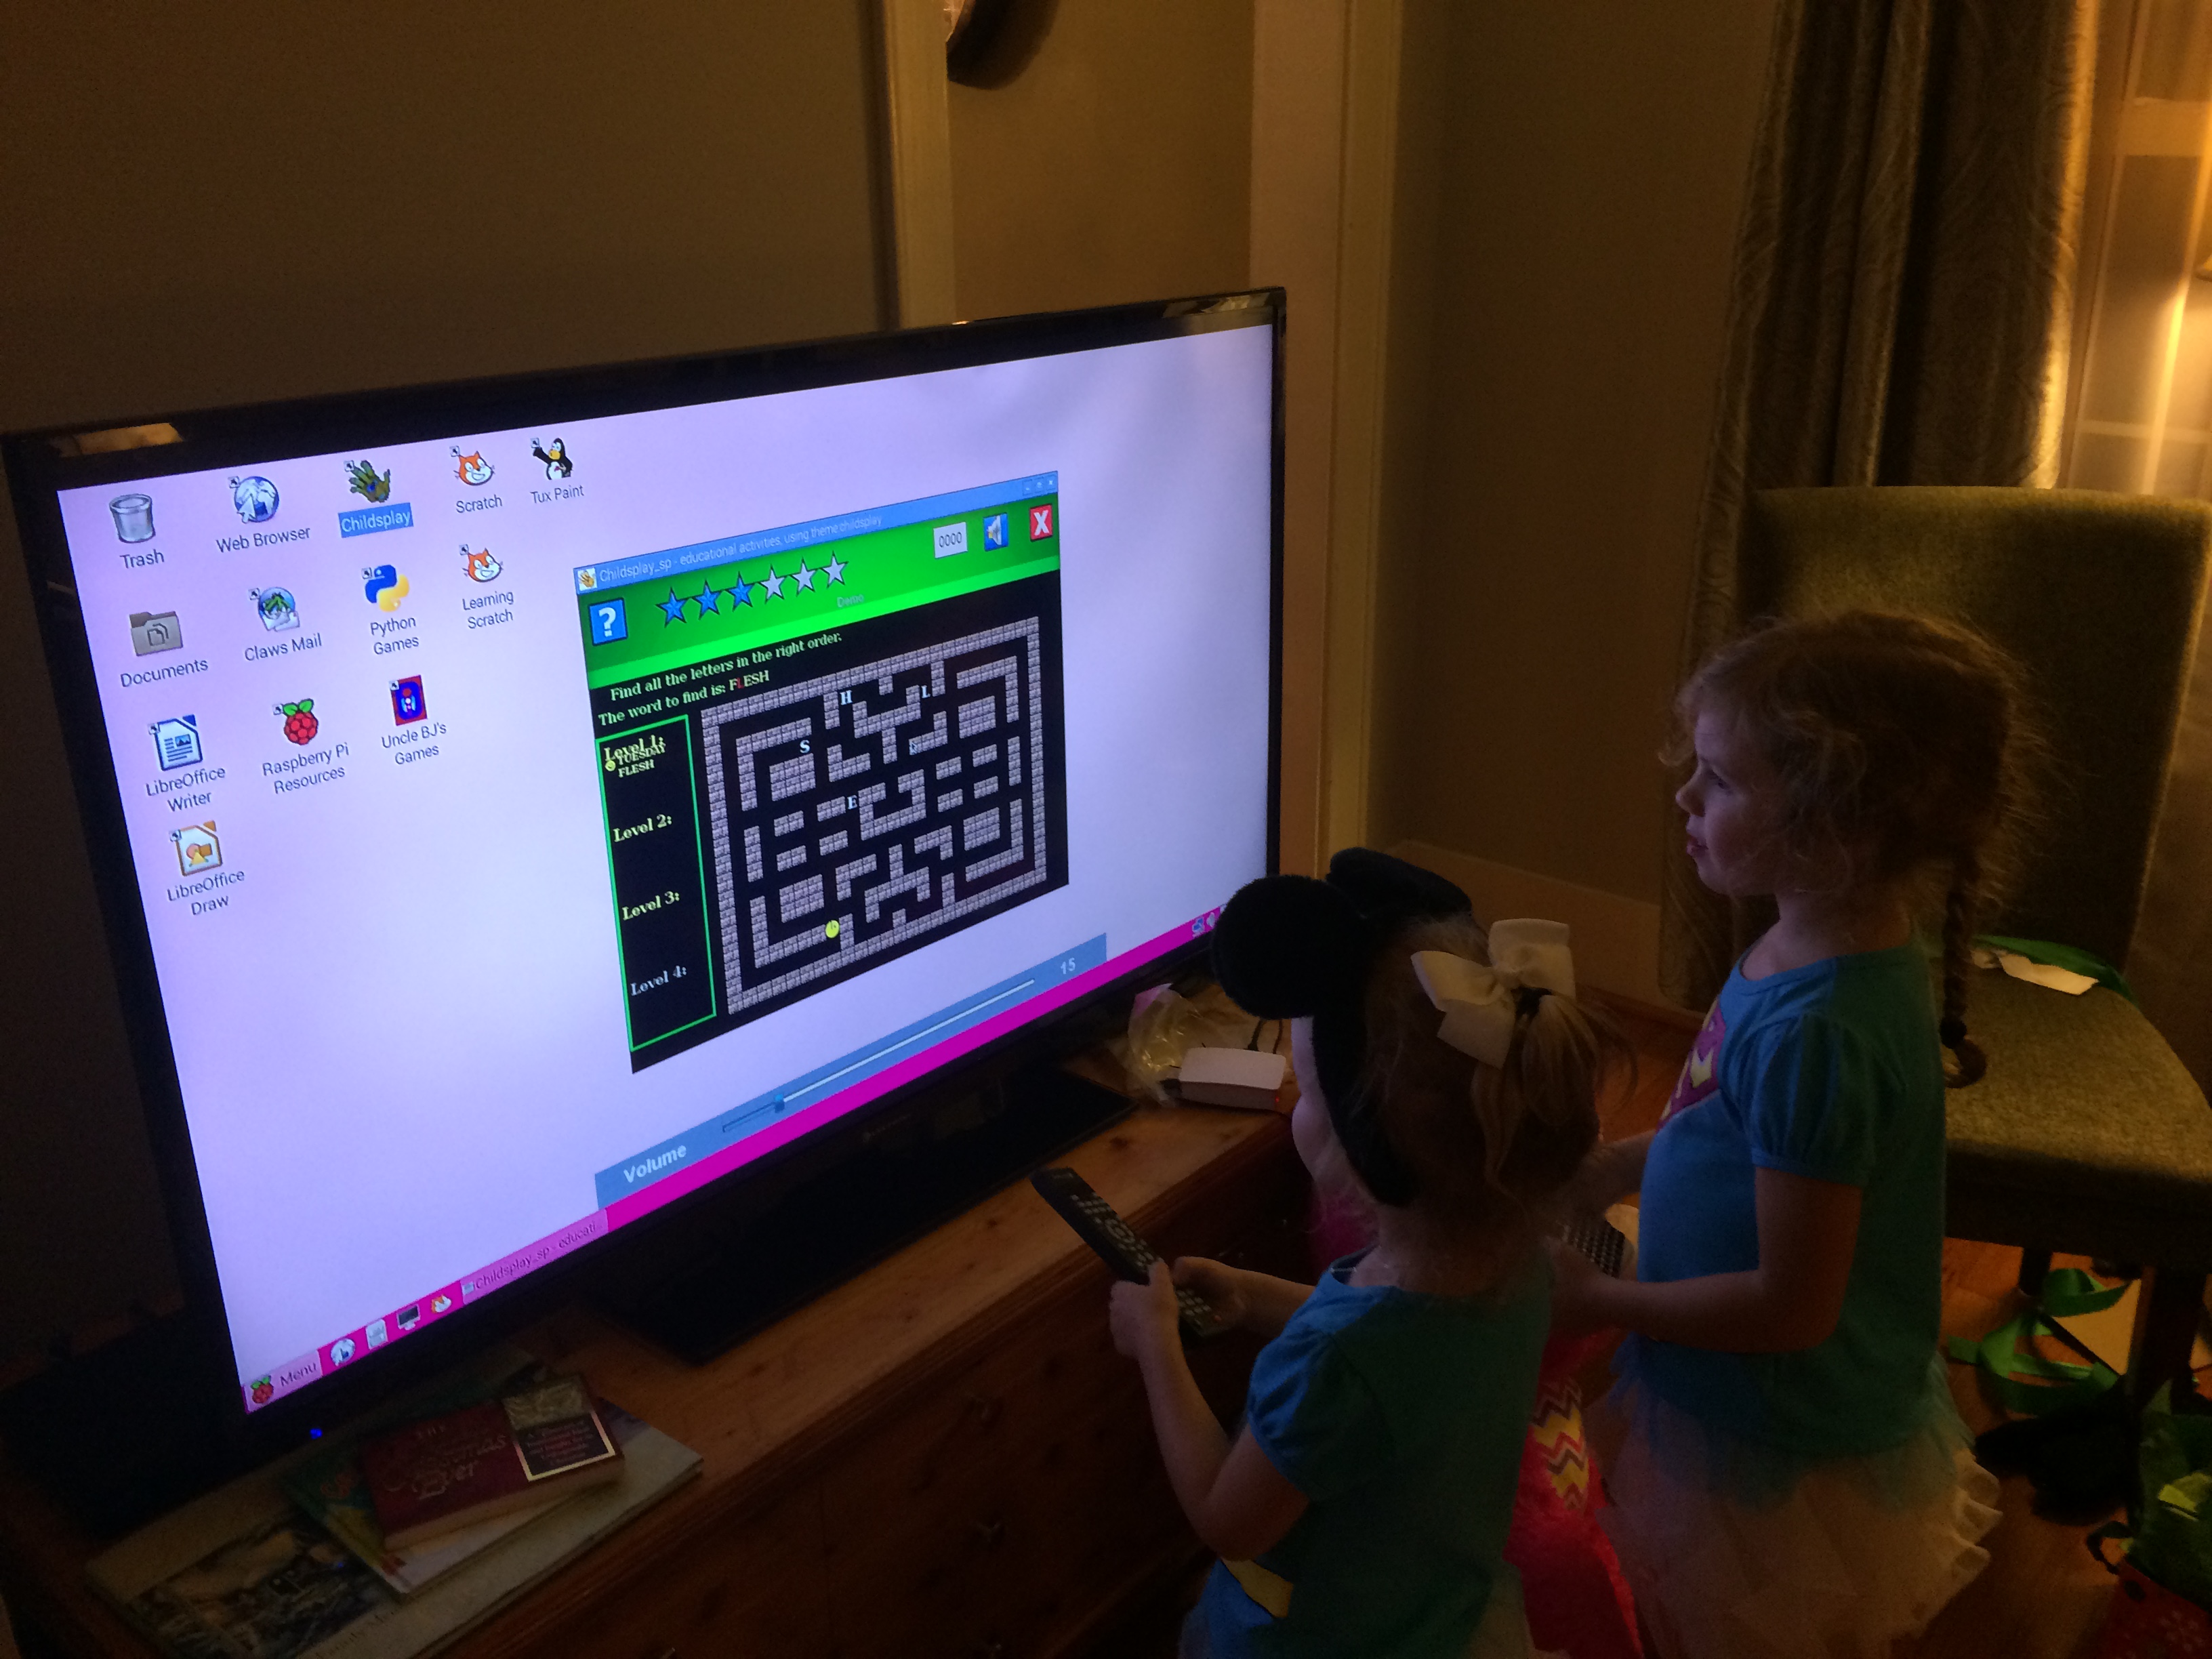
As an additional bonus my mother liked it so much that she asked me to build her one too. If you haven’t listened to the podcast where I’ve talked about her laptop it is slow and old, as in running Windows XP and .NET Framework 1.1 old.